Water leaking into swimming goggles does not always mean the product is defective. A poor seal, incorrect adjustment, or damaged component can produce similar symptoms. The challenge is identifying the actual cause before replacing the goggles or rejecting a production batch.
To perform a leak test on swimming goggles, start with a visual inspection, conduct a dry suction check, and then test the goggles in water under static and moving conditions. If leakage occurs, adjust one variable at a time and repeat the test to determine whether the problem comes from fit, facial compatibility, or a possible manufacturing defect.
For swimmers, this process helps solve recurring leaks. For swimming goggle brands and quality inspectors, it provides a practical starting point for investigating customer complaints and evaluating product consistency.
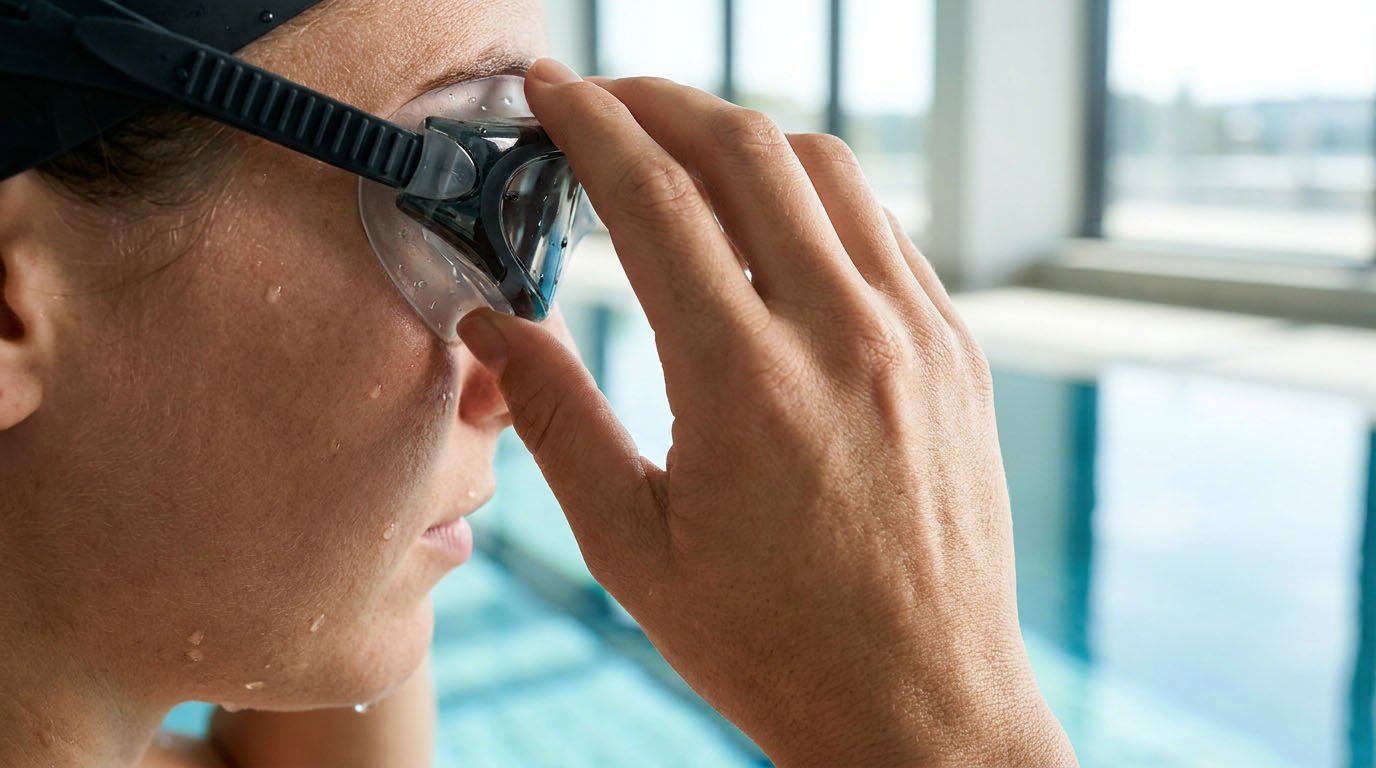
Quick Answer: How Do You Leak Test Swimming Goggles?
A reliable swimming goggle leak test involves four steps:
| Step | Test Method | Main Purpose |
|---|---|---|
| 1 | Visual inspection | Identify damaged, contaminated, or misaligned components |
| 2 | Dry suction test | Screen for basic gasket-to-face contact |
| 3 | In-water test | Observe leakage during static and normal swimming movements |
| 4 | Root cause diagnosis | Distinguish fit problems from suspected product defects |
Important: A dry suction test is only a preliminary screening method. Goggles that briefly stick to your face are not necessarily watertight during swimming.
Similarly, an in-water test on one person’s face cannot establish whether every goggle in a production batch meets the required quality standard.
The following procedure helps you collect more reliable evidence.
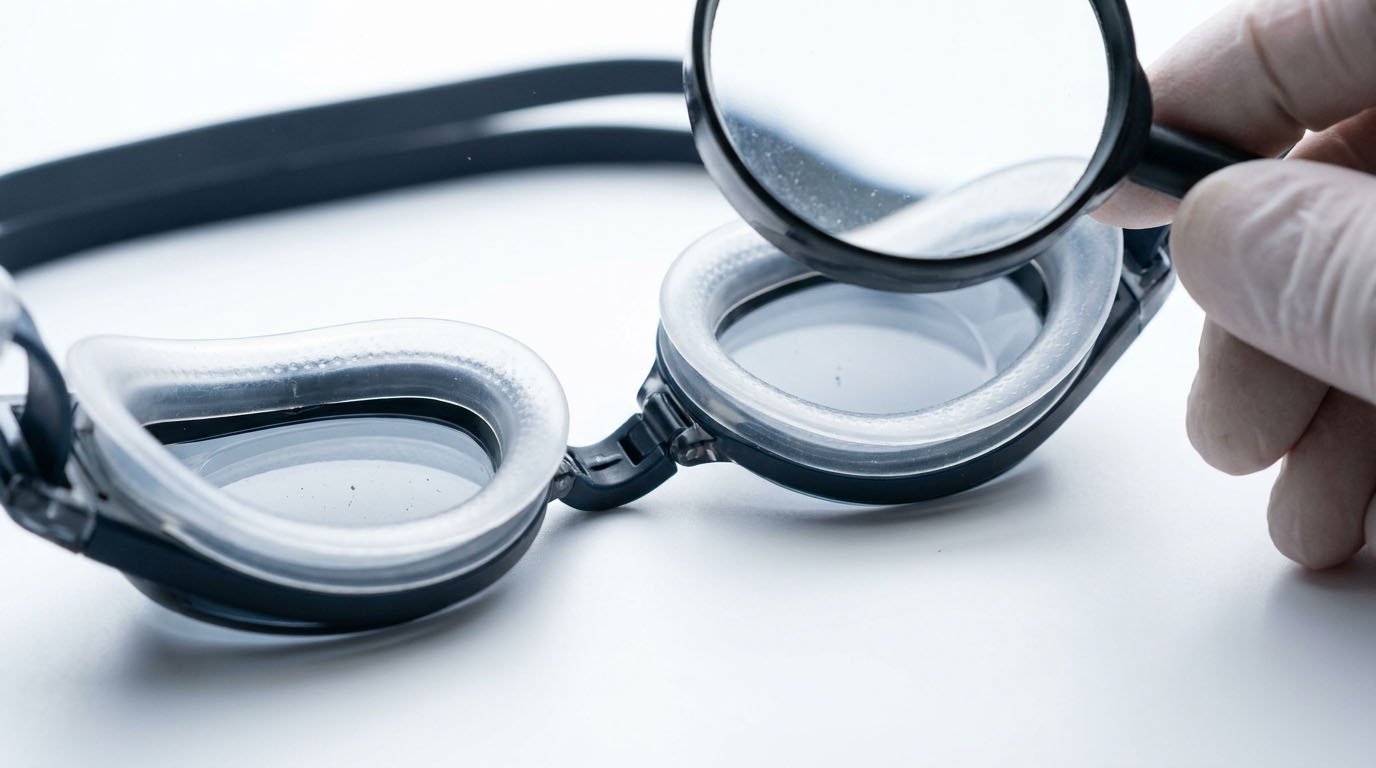
Step 1. Inspect the Gaskets, Frame, and Nose Bridge
Before placing the goggles in water, check the components responsible for maintaining the seal.
A small obstruction along the gasket can create a path for water to enter, even when the remaining components are undamaged.
Check the Silicone Gaskets
Examine the complete perimeter of both eyecups under good lighting.
Look for:
- Tears, cuts, or permanent deformation in the sealing edge.
- Dust, hair, sand, or other contamination.
- Uneven gasket positioning around the lens.
- Excess molding flash that interferes with the sealing surface.
- Sections that appear folded, twisted, or compressed.
Remove loose contaminants carefully. If the gasket is torn or permanently distorted, adjustment alone may not resolve the problem.
Inspect the Frame and Nose Bridge
Next, examine the frame and connecting components.
| Inspection Area | What to Check | Possible Problem |
|---|---|---|
| Silicone gasket | Tears, deformation, uneven seating | Water enters around the face seal |
| Nose bridge | Incorrect assembly, damaged connector | Eyecups sit unevenly |
| Lens-frame connection | Visible gaps, cracks, loose assembly | Potential component leakage |
| Strap and buckle | Slipping, twisting, damaged parts | Unstable positioning during swimming |
For models with interchangeable nose bridges, make sure both ends are properly attached.
A visual inspection cannot detect every hidden defect, but it can identify obvious issues before additional testing.
Step 2. Perform a Dry Suction Test
The dry suction test is a quick way to assess whether the goggles can form an initial seal against the wearer’s face.
It requires no special equipment and is commonly used before swimming.
How to Perform the Test
- Make sure your face and the gasket contact surfaces are clean.
- Keep the headstrap off your head.
- Position both eyecups comfortably over your eye sockets.
- Press the goggles gently against your face.
- Release your hands and observe whether the eyecups maintain brief contact.
If the goggles remain in place momentarily, the gasket may have achieved reasonable initial contact.
If they immediately fall away, inspect their position and check for visible gaps.
Do not press excessively hard to create artificial suction. This can distort the gasket and produce misleading results.
What Does a Dry Suction Test Actually Prove?
A dry test provides preliminary information about face-to-gasket contact.
It does not confirm:
- Watertight performance during swimming.
- Resistance to leakage during head movement.
- Integrity of every lens-frame connection.
- Consistent performance across different users.
Some low-profile or competition goggles may also depend more heavily on their intended strap adjustment, making dry adhesion less useful as a standalone indicator.
There is no universal suction-hold duration that proves all swimming goggles are leak-free.
If the eyecups do not sit comfortably against your face, review the product’s intended fit before moving to water testing. Our guide on how to choose the right swimming goggles explains gasket profiles, nose bridge compatibility, and different swimming applications.
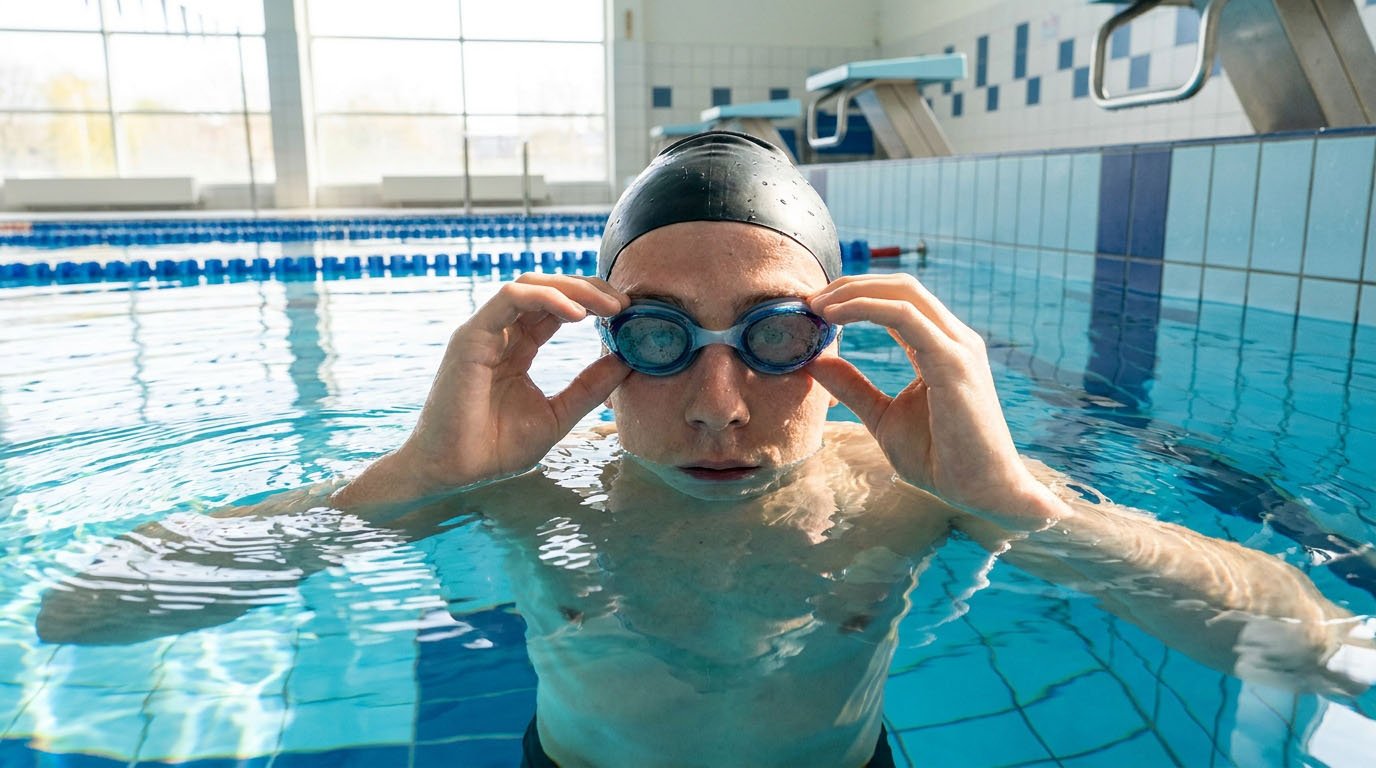
Step 3. Conduct an In-Water Leak Test
An in-water test evaluates how the goggles behave under conditions closer to actual use.
Unlike a dry suction check, it can reveal leakage caused by water exposure, facial movement, and changes in goggle position.
For a practical screening test, use a safe, shallow pool environment where the tester can stand comfortably. Children should be supervised by an adult.
Stage 1: Static Water Test
Start with the goggles correctly positioned and the strap adjusted to a comfortable, secure tension.
Then:
- Enter the water and stand in a stable position.
- Lower your face gently into the water.
- Remain still for a short, comfortable period.
- Observe whether water enters either eyecup.
- Raise your head and identify where the water first appeared.
If water enters immediately, record the location rather than tightening the strap automatically.
For example, water appearing near the inner eye corner may indicate an unsuitable nose bridge setting or incomplete gasket contact. Leakage near the lower edge may involve the gasket position against the cheek.
These observations identify possible causes, not definitive diagnoses.
Stage 2: Dynamic Movement Test
Goggles may remain sealed while the face is still but leak when the swimmer moves.
To investigate:
- Turn your head gently from side to side.
- Perform normal breathing movements.
- Try a short, controlled swim at a comfortable pace.
- Observe whether leakage appears only during movement.
Do not perform forceful dives or aggressive underwater maneuvers simply to test the seal.
If water enters during normal swimming but not during static immersion, movement-related gasket displacement or strap instability may be contributing to the problem.
Stage 3: Adjust One Variable at a Time
When leakage occurs, change only one setting before repeating the test.
For example:
- Reposition the eyecups and retest.
- If leakage remains, adjust the nose bridge if the model permits it.
- Retest before changing strap tension.
- Make a small strap adjustment and observe the result.
This approach makes it easier to identify which adjustment affected the seal.
Avoid excessive strap tightening. High pressure can cause discomfort and, depending on the gasket design, distort its contact surface.
Step 4. Identify the Root Cause of Swimming Goggle Leaks
When goggles fail an in-water test, the most useful information is the leakage pattern.
A repeated leak in one location deserves investigation, but the location alone does not establish that the goggles have a manufacturing defect.
Swimming Goggle Leak Troubleshooting Matrix
| Leakage Symptom | Possible Cause | Recommended Action |
|---|---|---|
| Water near the inner eye corner | Nose bridge setting or incomplete gasket contact | Check bridge adjustment and retest |
| Water around the outer edge | Eyecup positioning or facial incompatibility | Reposition goggles; assess another suitable model if needed |
| Water below the eye | Gasket contact against the cheek | Check gasket seating and eyecup position |
| Leakage during head movement | Gasket displacement or strap movement | Review strap stability and repeat dynamic testing |
| Leakage at a visible lens-frame seam | Possible assembly or component defect | Inspect the joint and isolate the product for further testing |
| Leakage stops after a small adjustment | Fit or positioning issue | Confirm the result with a repeated test |
| Leakage persists despite appropriate adjustments | Possible incompatibility or product defect | Compare with another sample and investigate further |
How Do You Distinguish Fit Problems from Product Defects?
There are three useful diagnostic categories.
1. Fit or Adjustment Problems
The goggles stop leaking after changing their position, strap tension, or nose bridge setting.
This suggests that the original setup affected the seal.
2. Facial Compatibility Problems
A particular goggle model repeatedly leaks on one wearer but performs better on another.
This may indicate a mismatch between gasket geometry and facial contours. It does not automatically mean the original wearer used the product incorrectly.
3. Suspected Manufacturing Defects
Leakage continues after reasonable adjustments, and inspection reveals a damaged gasket, misassembled component, or suspicious lens-frame connection.
This finding requires further investigation.
A repeated leak in the same location, even across multiple wearers, is evidence worth examining—not sufficient proof by itself that a manufacturing defect exists.
For B2B quality teams, comparing the affected pair with an approved reference sample can help determine whether the problem is isolated or potentially associated with production.
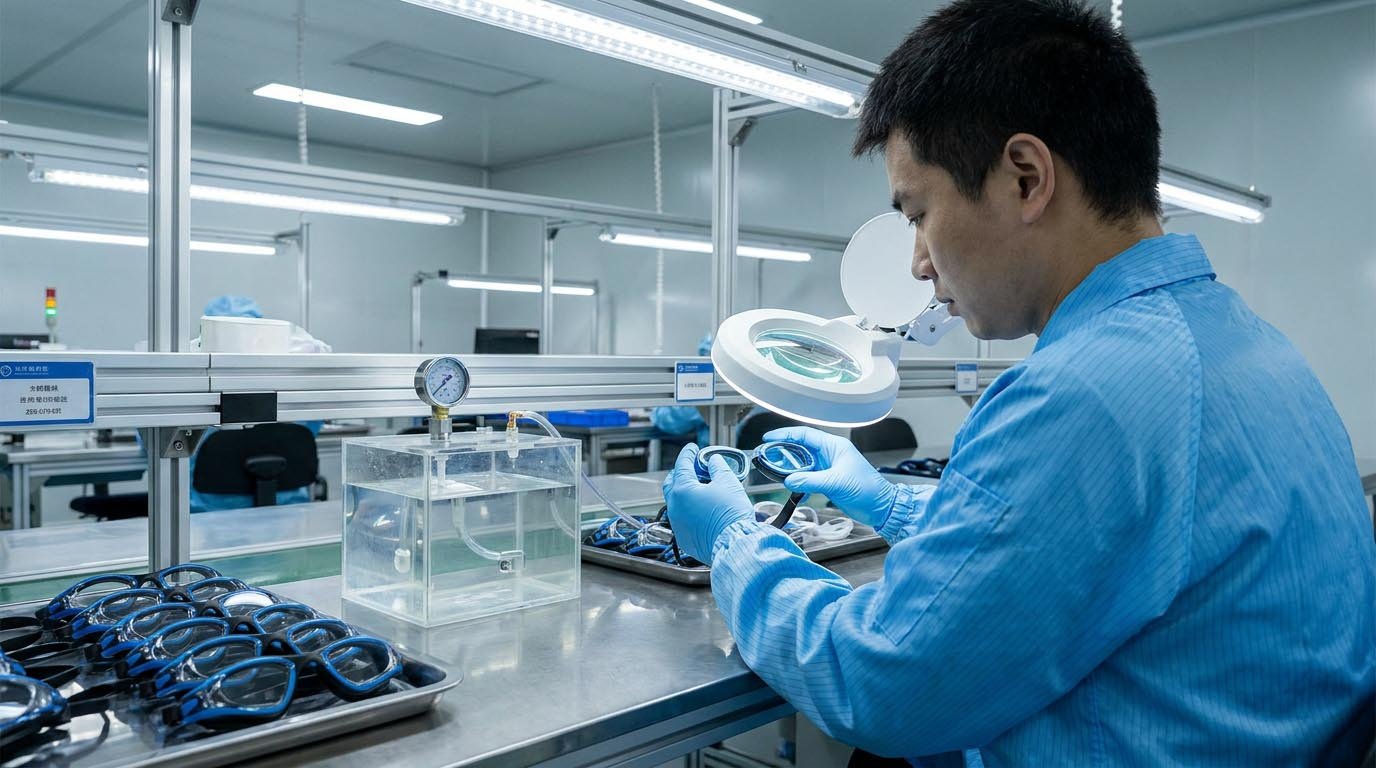
How Do Manufacturers Verify Swimming Goggle Leak Resistance?
Consumer leak testing focuses primarily on whether a particular pair seals against a particular face.
Manufacturers must address an additional question:
Are the product’s components assembled correctly, and can the design and production process deliver consistent sealing performance?
These are related but different evaluations.
Face-Seal Testing vs. Component Leakage Testing
| Test Category | What It Evaluates | Main Limitation |
|---|---|---|
| Dry suction screening | Initial gasket contact with one face | Does not prove watertightness |
| In-water wearer test | Practical seal performance during use | Results depend partly on wearer fit and movement |
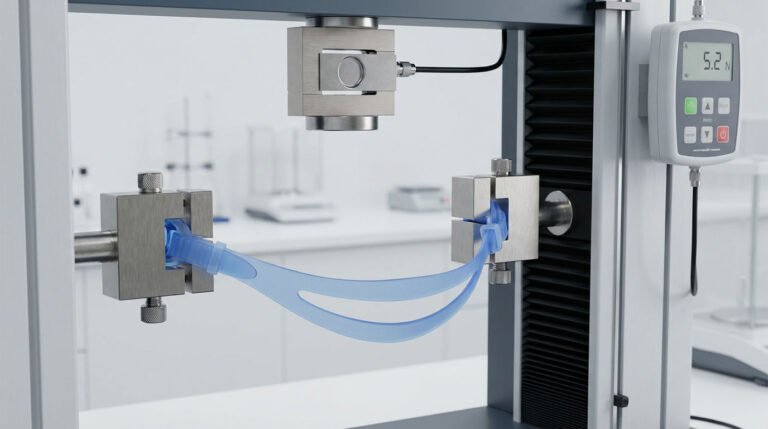
| Component leakage test | Leakage through or between assembled components | Does not establish compatibility with every face |
| Production sample inspection | Whether inspected units meet an agreed test plan | Results must be interpreted within the sampling scope |
What Does ISO 18527-3 Say About Leakage?
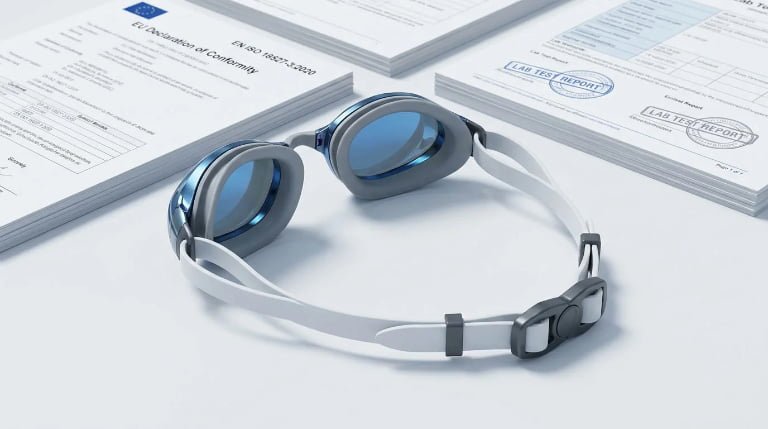
ISO 18527-3:2020, as amended in 2025, covers requirements and test methods for eyewear intended for surface swimming.
An important distinction is that its component leakage requirement assesses leakage between eyewear components, rather than the seal formed between the goggles and the wearer’s face.
Therefore, a model may meet a component leakage requirement but still leak on a wearer whose face is incompatible with its gasket geometry.
Equally, a comfortable fit during a short swim does not replace formal component testing.
Formal testing should follow the applicable standard’s specified apparatus, procedure, and acceptance criteria. The informal pool checks described earlier in this guide are not substitutes for laboratory compliance tests.
What Should Brands Request from Their Manufacturer?
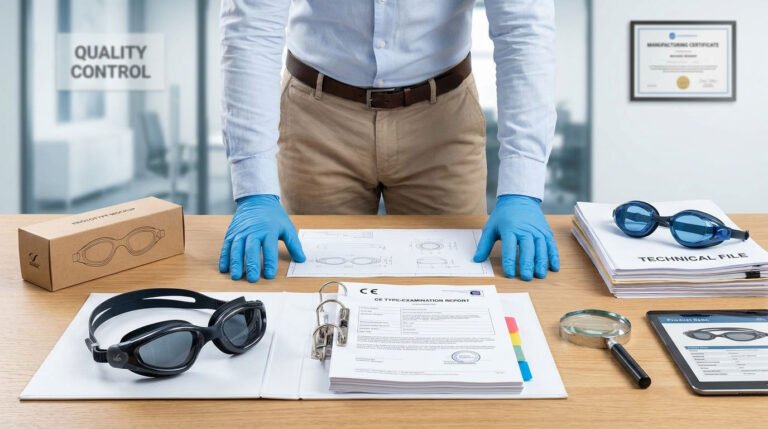
For OEM/ODM projects, buyers can ask the supplier to document:
- Which test is being used and what it evaluates.
- The product model, component configuration, and sample identification.
- The agreed acceptance criteria or applicable standard.
- The number of units evaluated and how they were selected.
- Any observed failures, corrective actions, and retest results.
- Whether tested production samples match the approved reference.
At Jerry Goggles, product performance evaluation forms part of our broader quality assurance process, which includes material checks, in-process monitoring, functional evaluations, and final inspections.
For a buyer, the most valuable evidence is not simply a statement that the goggles were tested. It is documentation connecting the tested sample, evaluation method, and result to the product being purchased.
How Should You Record Swimming Goggle Leak Test Results?
A repeatable process becomes more useful when the results are recorded consistently.
For an individual swimmer, this helps determine whether an adjustment solved the problem.
For manufacturers and importers, the records support defect investigation, corrective action, and production traceability.
Example: Swimming Goggle Leak Test Record
| Record Item | Example Entry |
|---|---|
| Product model | Model A |
| Sample ID | A-001 |
| Test category | Static and dynamic wearer test |
| Pre-test inspection | No visible gasket damage |
| Initial observation | Water entered near left inner corner |
| Adjustment made | Nose bridge repositioned |
| Retest observation | No leakage observed during the repeated screening |
| Final disposition | Fit issue suspected; further testing if required |
This is an illustrative screening record, not a completed laboratory test report.
For factory inspections, the record should also identify the production lot, test procedure revision, inspector, test date, and applicable acceptance criteria.
When Should a Product Be Retested or Rejected?
A suspected failure should be evaluated according to the agreed inspection procedure.
For example:
- A visible gasket tear may justify rejecting the affected unit.
- A leak caused by incorrect placement may require adjustment and retesting.
- A repeated component leakage failure may require product isolation and further technical investigation.
- Similar failures across production samples may require a review of the affected lot before release.
Do not make an entire batch rejection decision solely from one informal wearer test.
Buyers reviewing formal laboratory documentation can consult our guide on how to read a swimming goggle test report to understand sample identification, testing scope, and result interpretation.
Frequently Asked Questions About Swimming Goggle Leak Testing
1. Can Swimming Goggles Pass a Dry Suction Test and Still Leak?
Yes. A dry suction test only screens initial gasket contact.
Head movement, strap positioning, facial expression, and water exposure may reveal leakage that is not apparent during a brief dry test.
An in-water test is necessary for a more realistic assessment of wearer performance.
2. How Long Should Swimming Goggles Hold Suction?
There is no single universal duration that proves every model is watertight.
A brief suction hold can be useful during initial fit screening, but the result depends on gasket construction and the wearer.
Do not use an arbitrary number of seconds as a manufacturing pass/fail criterion.
3. Why Do My Swimming Goggles Leak Even When the Strap Is Tight?
Tightening the strap does not always improve sealing.
The gasket may be positioned incorrectly, the nose bridge may be unsuitable, or excessive tension may deform the sealing edge.
Try repositioning the eyecups and checking the nose bridge before increasing tension.
4. Can Swimming Goggles Leak Because of a Manufacturing Defect?
Yes. Damaged gaskets, poorly seated components, cracks, or defects in assembled joints can contribute to leakage.
However, fit-related leakage and component leakage should be investigated separately.
Repeated testing and component inspection help determine whether additional factory evaluation is necessary.
5. Is a Swimming Goggle Leak Test the Same as a Waterproof Test?
Not necessarily.
An informal in-water leak test usually evaluates how goggles perform on a wearer’s face.
A formal component leakage test evaluates a defined property using a specified procedure and acceptance criteria.
The test scope should be stated clearly, particularly when manufacturers or brands make performance claims.
Conclusion
Performing a reliable swimming goggle leak test requires more than pressing the eyecups against your face.
The most useful sequence is straightforward: inspect the components, perform a dry suction screen, test in water, and investigate repeated leakage patterns.
For swimmers, this method helps distinguish an adjustment problem from a potentially unsuitable or damaged pair.
For swimming goggle brands, accurate leak diagnosis also helps prevent unnecessary product rejections and supports more consistent quality decisions.
At Jerry Goggles, we manufacture custom swimming goggles for brands, distributors, and retailers, with product development and quality verification supporting the manufacturing process.
If you are evaluating swimming goggle samples or developing a new OEM/ODM product, contact Jerry Goggles to discuss your product specifications, sample evaluation requirements, and quality expectations.